Interested in learning how teachers create sorting activities on Seesaw? Watch the video or follow the written directions below to learn how!
Create a Background in Slides
Google Slides is a great place to create backgrounds for Seesaw activities. It allows for more customization and editing options than creating the background in Seesaw, itself. It also helps by creating less items for students to manipulate or potentially edit on their Seesaw activity page. When creating a background in google slides, you can change the background color, add text boxes, utilize tables, and much more!
When finished, you’ll want to download your slide as a JPEG to upload into seesaw. To do this, go to File > Download > JPEG Image. This will create a picture (JPEG) of the selected slide.
To upload into your Seesaw activity template, select the camera > upload > and select the file location. Be sure to lock the image in place by selecting the three dots > lock > lock all.
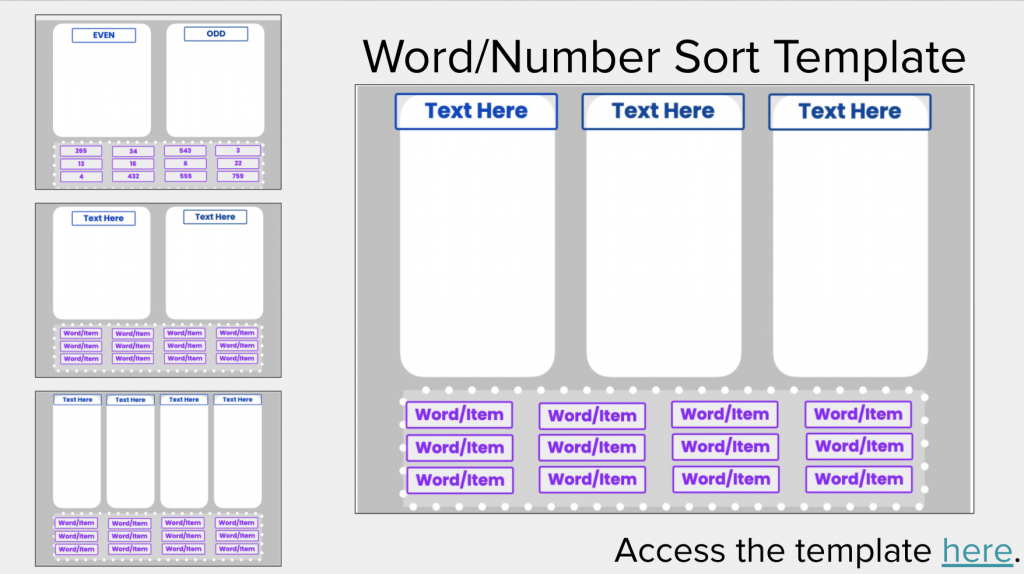
Here is an example google slide background that you can use as a starting point.
Add Basic Seesaw Features
Once you’ve uploaded your background, you can add your sorting items by uploading images or adding text boxes with the label feature.
It is typical practice to stack these items in one spot on your activity, or to line these items across the bottom.
New Features in Action
Add audio to each sortable piece. Do this by selecting the item that needs audio > three dots > voice. From there, you can upload audio from your computer or record your audio right in seesaw.
You can also lock the size of each sortable piece. This helps students from accidentally resizing the sorting items when moving them.
Last, you can add audio directions to the page by selecting the three dots > voice.
Seesaw Template
Here you can find a few pre-built Seesaw templates that you can use and modify.