Canvas studio is a video creation and engagement tool that makes creating, editing, and using videos easier for both teachers and students. Now everyone can create and collaborate through video media right in Canvas.
There are a lot of useful purposes for Studio but some of my favorites include
- Instructors can record or upload a simple video and use the editing tools to make it interactive, engaging, and add captions with a click of a button.
- Students can upload large video sizes easily (Student iPads don’t have access to all of studio)
- Add quizzes on top of created or uploaded videos
- Oh and Studio makes it super easy to share your videos with your colleagues
I will only be touching the surface of Studio, be sure to subscribe to our blog so you can get updates right in your email.
Canvas Studio Basics
You will need to install Canvas Studio’s software on your computer before recording with Studio. If you have trouble downloading check out our help desk articles on Zendesk for detailed instructions.
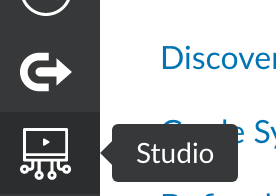
In your Canvas toolbar you can click this icon and you will be welcomed to the studio screen and you can start recording your videos right away.
Recording Videos
Watch this 1 minute video that quickly goes through recording with Studio.
You have three options,
- Record your screen
- Just your Webcam
- Both!
There are annotating tools you can use while your record, I have found that it is way easier to annotate while you are editing. If you use the annotating tool while recording it freezes your screen so you have to do a lot of pausing and unpausing.
Remember, your recording doesn’t have to be perfect because Studio has editing tools that are simple to use!
Once you are done recording click done and now it will take you to your video you just recorded. You can either Upload it or Click Edit. You can also upload a previously recorded video and use this same editing page for your past videos. For now, let’s see what editing tools we have.
*Update: Thank you to Laura for the comment below! The webcam record button is just a quick way to record yourself. If you want to edit a screen recording click screen capture and then record yourself.
Editing
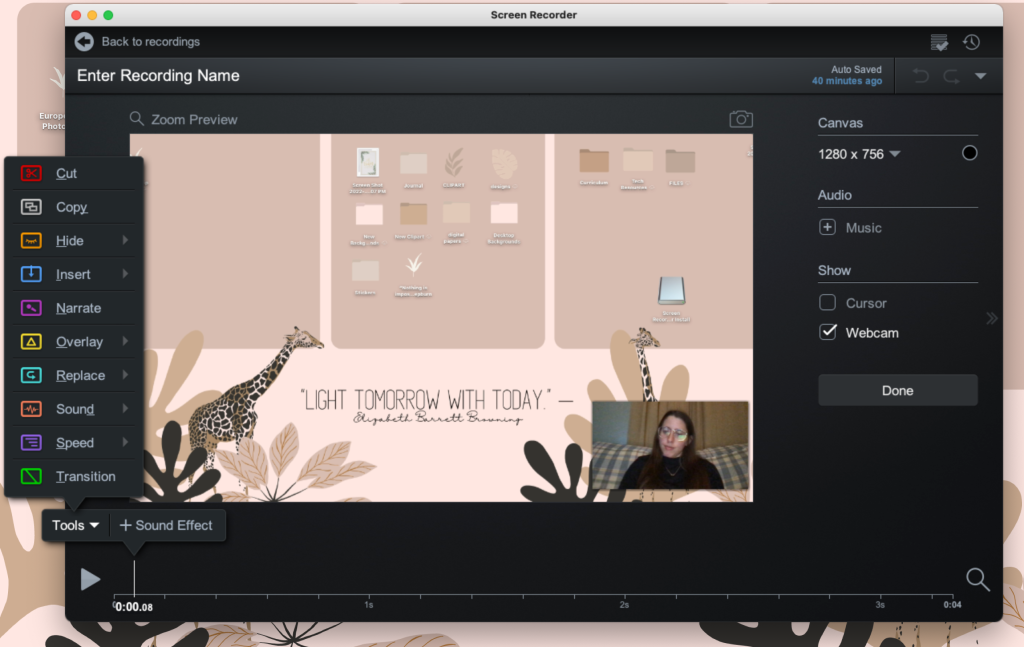
When your done recording you will be prompted to either upload or edit your video. There is a lot of editing tools but the ones I use most often are
- Text Overlay: Add text over the video
- Adding pauses: This is nice if you add text over the video
- Arrows
- Cut: Use this if you make a mistake!!
The best way to become an amazing editor is through practice. Try just adding text or arrows for your first time so you get use to the program. Below you can see what editing tools you have available.
Using your Video and Adding Captions
Once you’re done with your video you can upload it straight to studio. Go to your studio page on canvas and your video should be there!
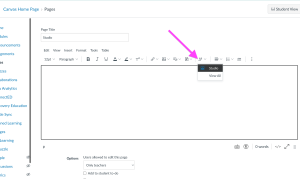
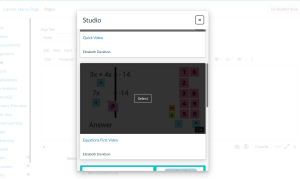
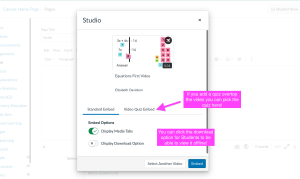
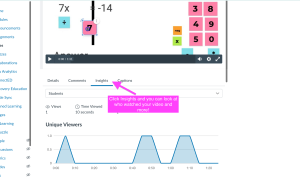
If you want to use that video in a course go to a page, assignment, or quiz. You can embed your video by clicking the plug-in icon and then go to Studio (see the picture below). There you can change the options to let students add comments, and download the video. You can also add the captions by clicking on captions and then requesting them. If you click on insights you will also see who watched the video and how long they spent watching it.
I recommend downloading the CSV which will create a spreadsheet of the analytics if you a quick overview instead of scrolling through the list.


Just a note, if you use the “Record Webcam” Option you don’t have the ability to edit that video. You have to do the “Screen Capture” option and then have the editing features (you can record with just your webcam, you don’t have to screen record). The Record Webcam option gives you a quick and easy recording option. Students do not have the option to Screen Capture and edit from their iPads.
Thanks for your comment! I updated the blog post with your notes!