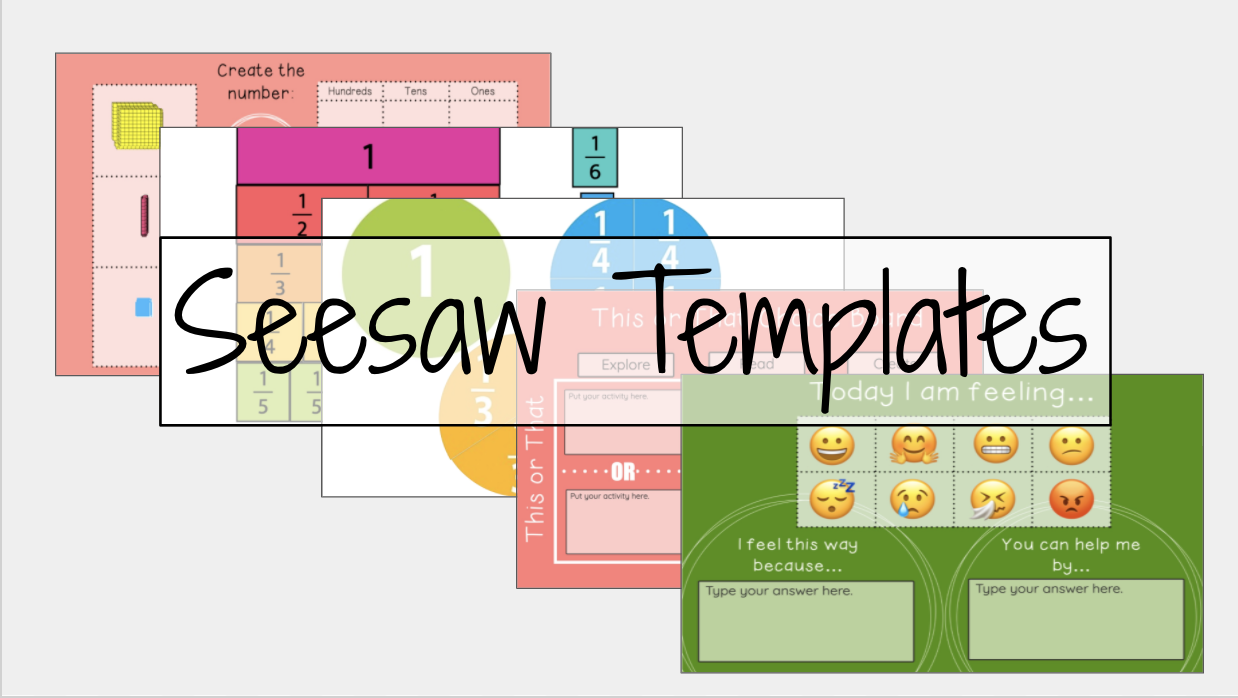
If there is one thing we know for sure, it’s that there isn’t enough time in the day to get all the things accomplished that you want to get done. Below you can find a presentation of Seesaw templates we’ve created or collected to help you save you some time, and hopefully find new ways to better utilize Seesaw.

Interested in using and modifying our templates?
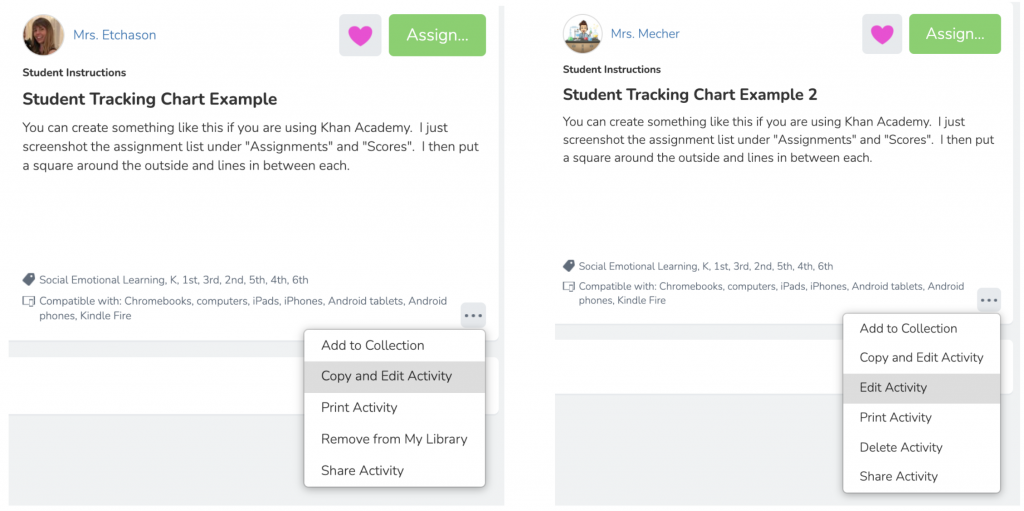
To utilize Seesaw templates, simply select the link you’d like to use from the template presentation above. When the template opens in your internet browser, select ‘Save Activity’. This will add the template to your Seesaw Library.

From here, you can copy the template by selecting […] > Copy and Edit. This will create a new activity with the template attached. Your new activity is now editable by again opening the new activity, selecting the […] > Edit Activity.
Make sure to delete any pages that you don’t need, add instructions for your assignment, and record any audio in the caption and directions for students to listen to.
Here are more detailed instructions on how to customize activities.
Interested in creating your own templates?
Creating templates is also a great way to share work that you are doing in your classroom with other teachers in the district.
Method 1: Create Directly in Seesaw
You can create a template completely in seesaw by selecting Add Template for Student Responses > Drawing. Create a simple background, utilize shapes to help group items, and create appropriate sized text boxes for teachers to use.
Below are the tools available to both students and teachers.
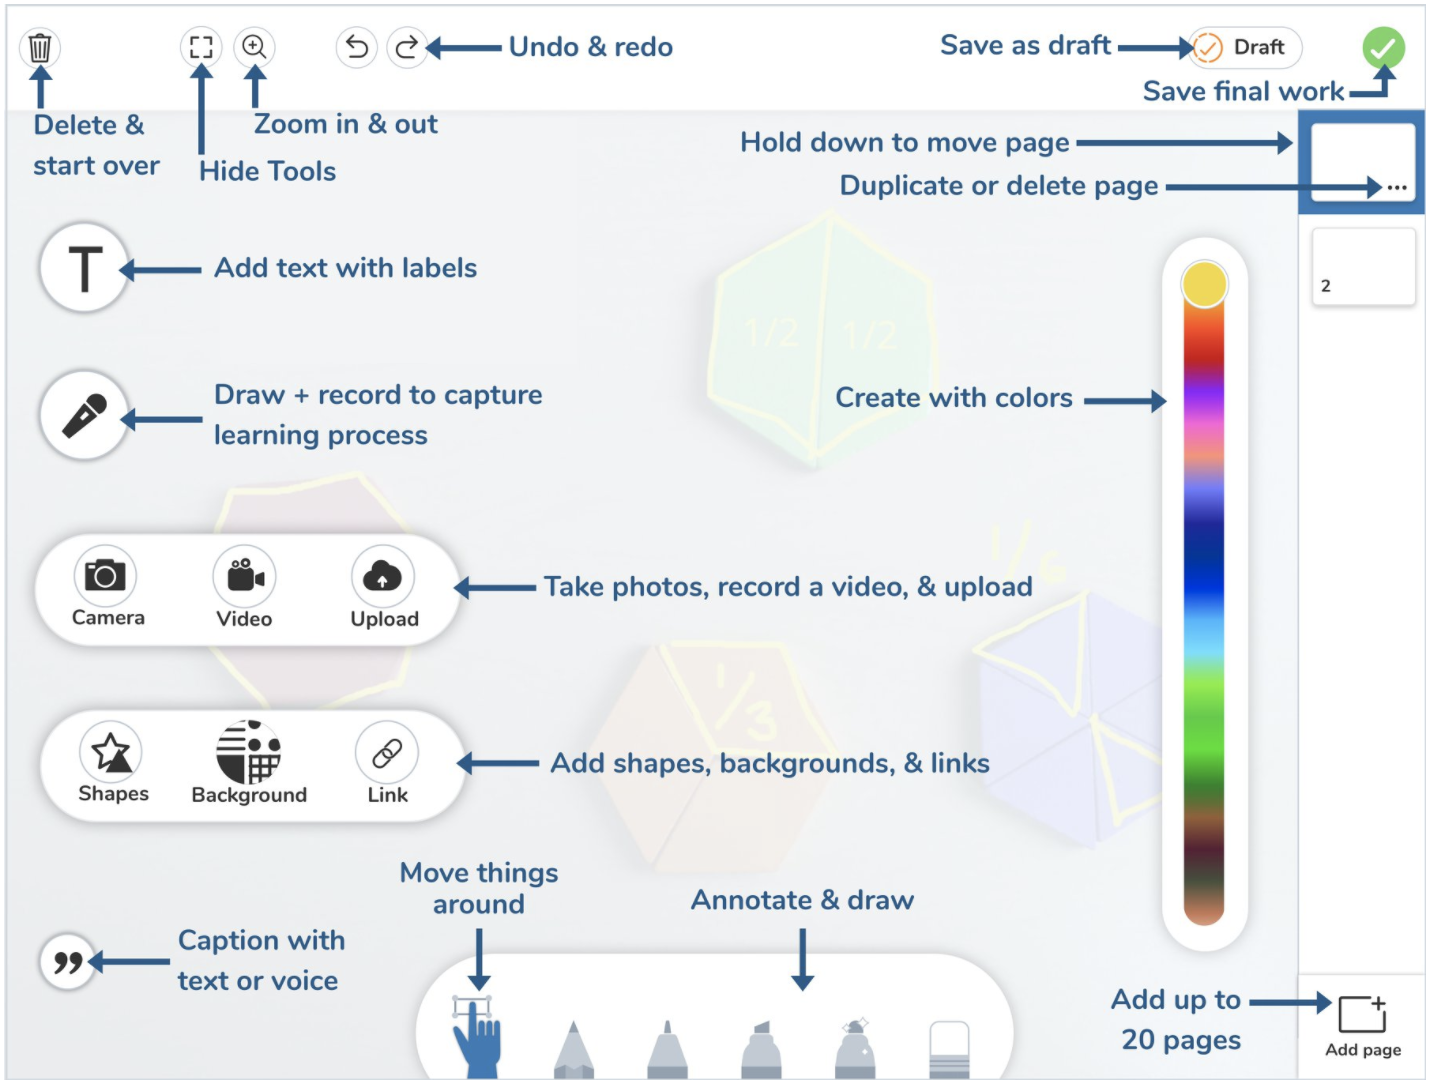
Method 2: Uploading a Background
You can also create a template background image in another program to import in as an image. One common place to do this is in Google Slides. Utilize Google Slides to create a custom background using the shapes, charts, and graphics. Remember, when you upload to Seesaw from a Google Slide, it will not allow teachers or students to manipulate, customize, or move anything on that page.
To import your background, select Add Template for Student Responses > Upload > Select from Google Drive. Locate your background within your Drive, and select Upload.
Once imported, you can add appropriate sized text boxes for teachers to use.
Want to Share Seesaw Templates?
When you’re done creating your template, be sure to share it with your PLC by adding it to the District Library. To do this, click the […] button > Share Activity > Share next to Share to School Library. Select the grade levels and subject areas relevant for your Activity. Now click ‘Share’ to share that activity with the school library. Teachers within your school and district can now modify your activity to fit their needs and share the activity with their students! If you need more help on how to share an activity, find the steps on the Seesaw Help Page, here.
Need more help on Seesaw?
Find our helpful Seesaw resources here on the Digital Learning Resources for Staff page.
Browse the Seesaw Help Center at help.seesaw.me.