Do you want to be able to present to your students through Google Meet but also see their faces or the chat? Below are two methods to make this happen!
Method 1: Two Devices
If you are using two devices, you want to begin your Meet on your laptop. This allows you to be able to record your meet for students that are not present and it allows you to use the tiled view so you can see all students on one screen. (For large classes you will have to add the gridview chrome extension to your laptop)
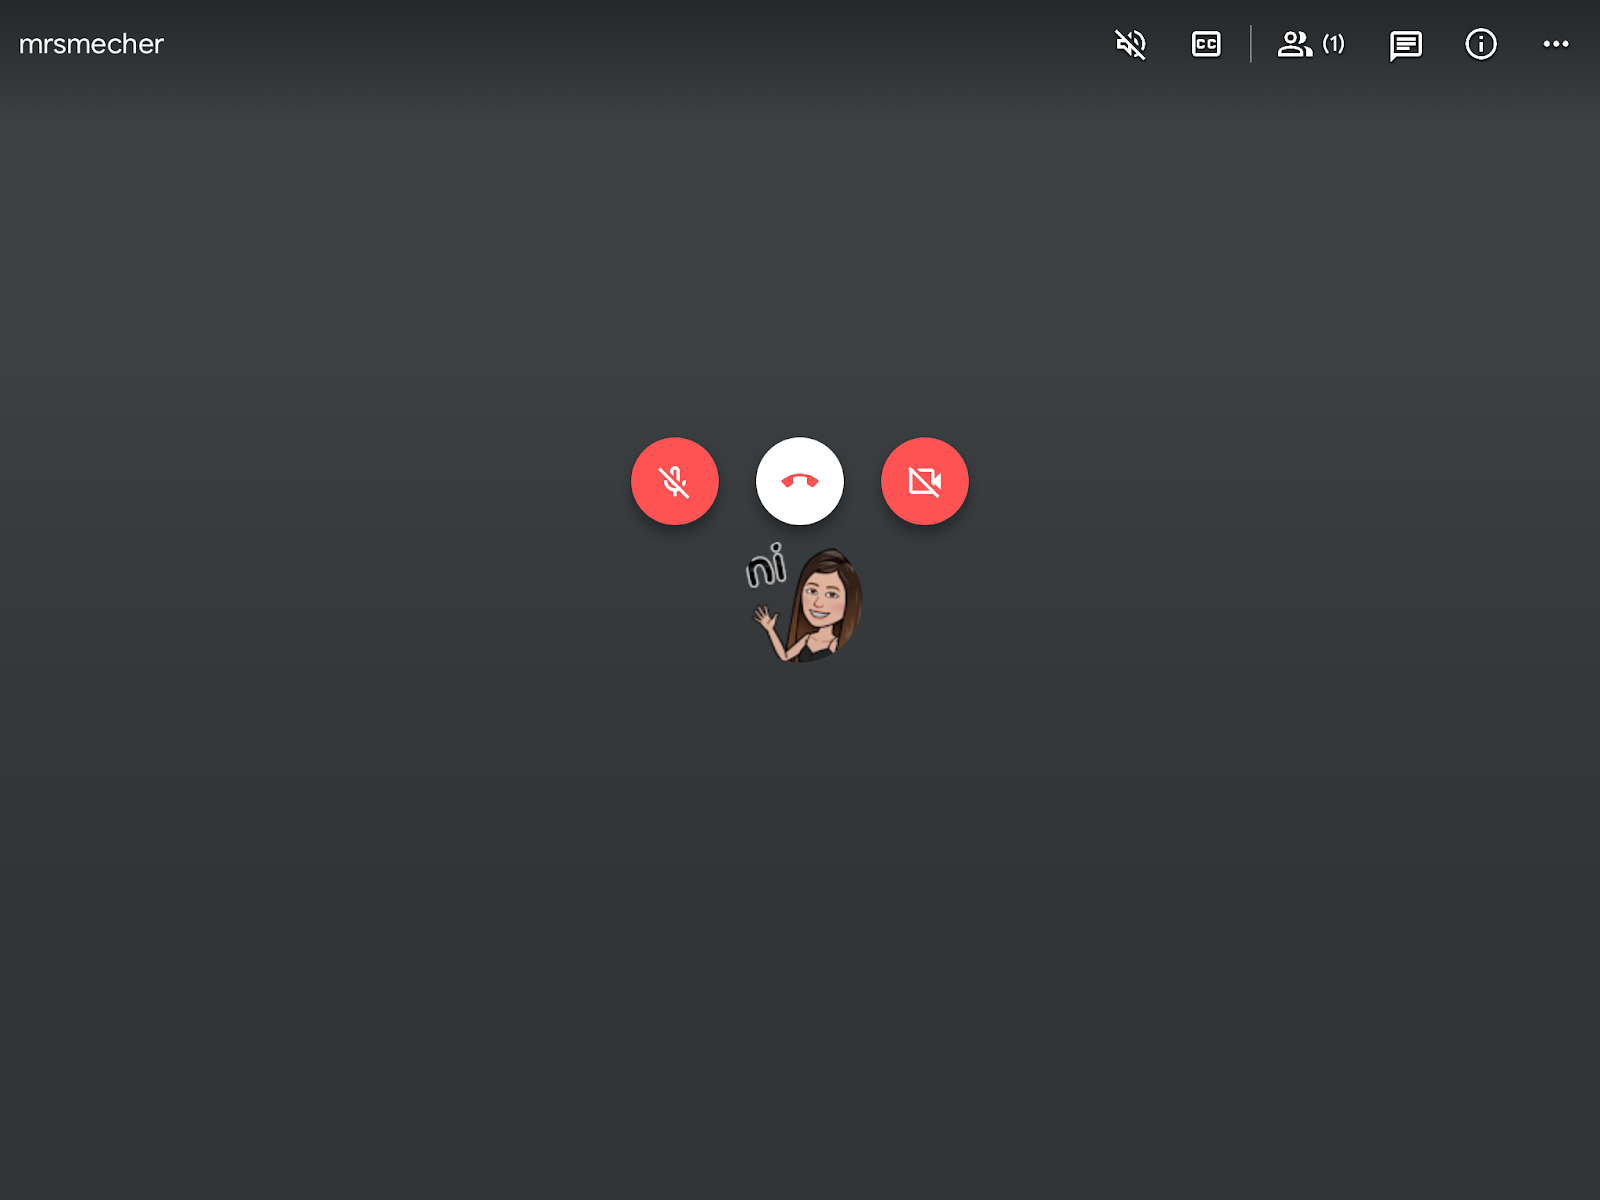
Next, you want to log into that same meet on your iPad. It is important that your iPad microphone is off and the camera is off. You can do this by selecting the microphone and video camera buttons on the ipad. If the buttons on the screen are red, they are off.
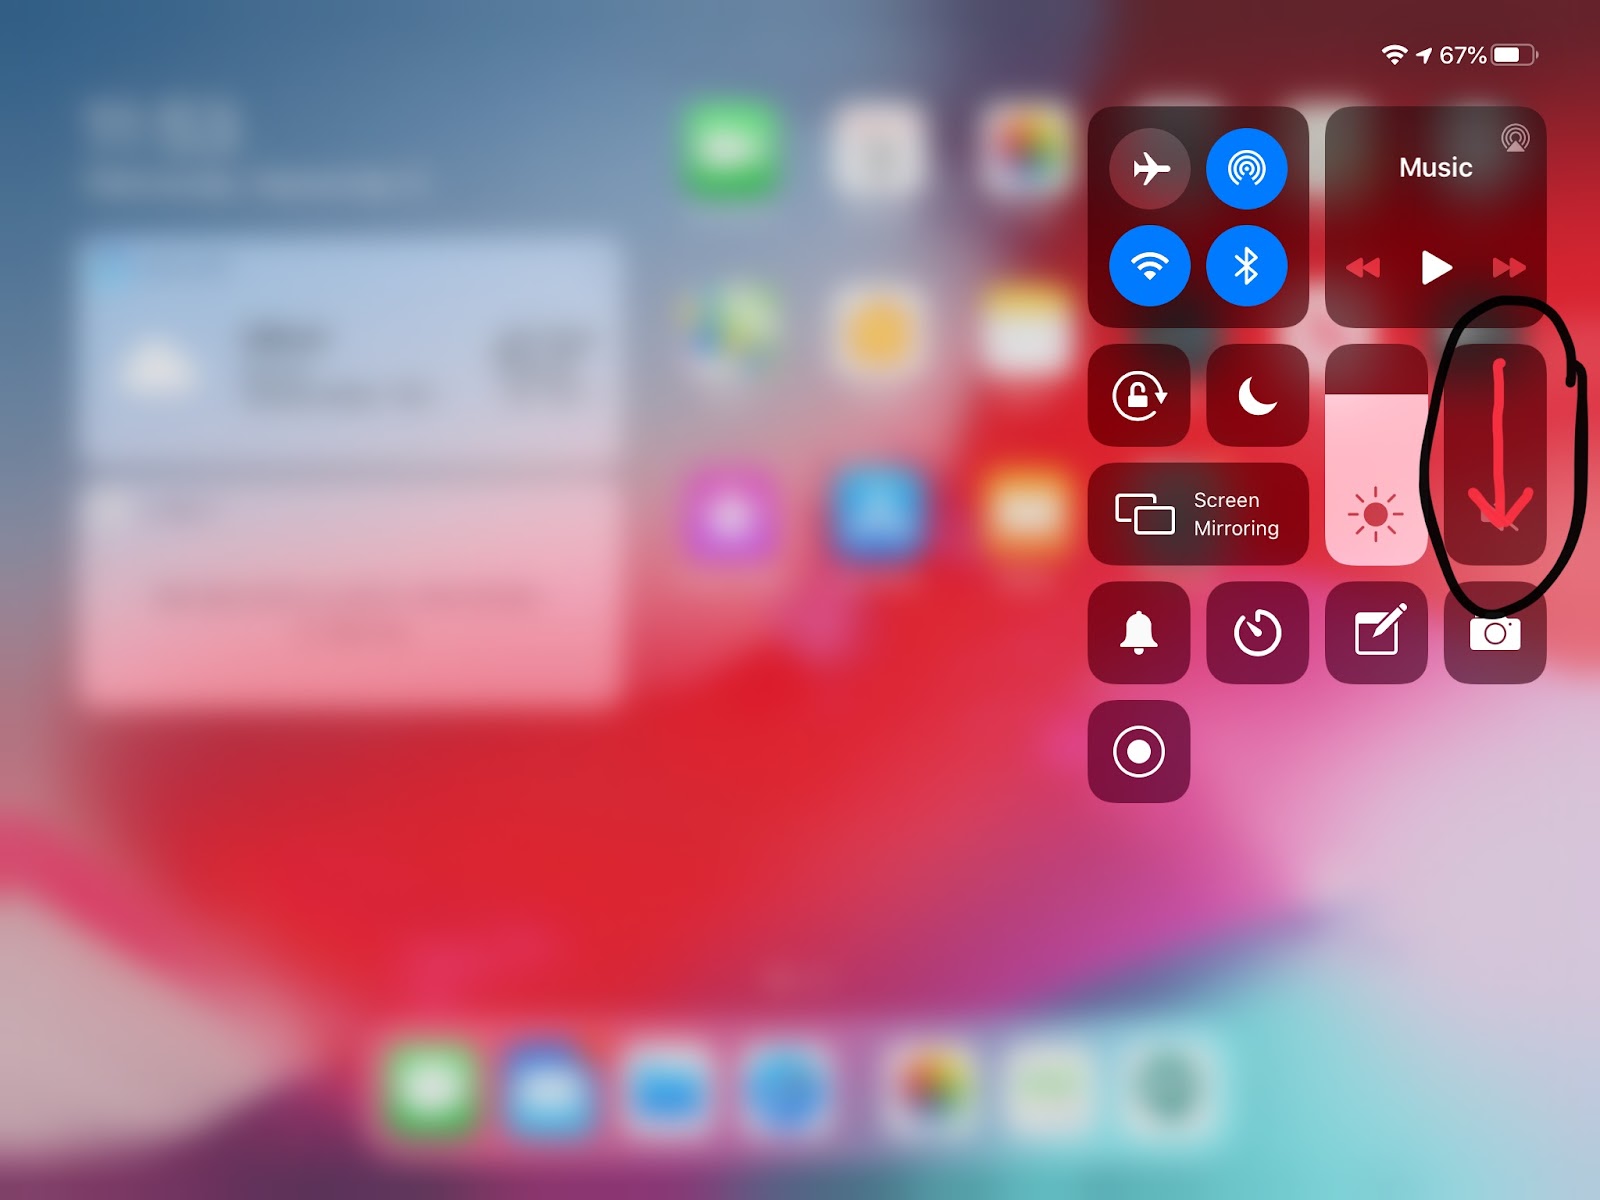
You also need the iPad itself to have its volume off. You can turn the volume off on your iPad by swiping in from the top right corner to the center of the screen and adjusting the volume all the way down. You can also use the volume buttons on the top of the iPad. By muting your microphone and your iPad, you will eliminate the background feedback noise. This step is very important.
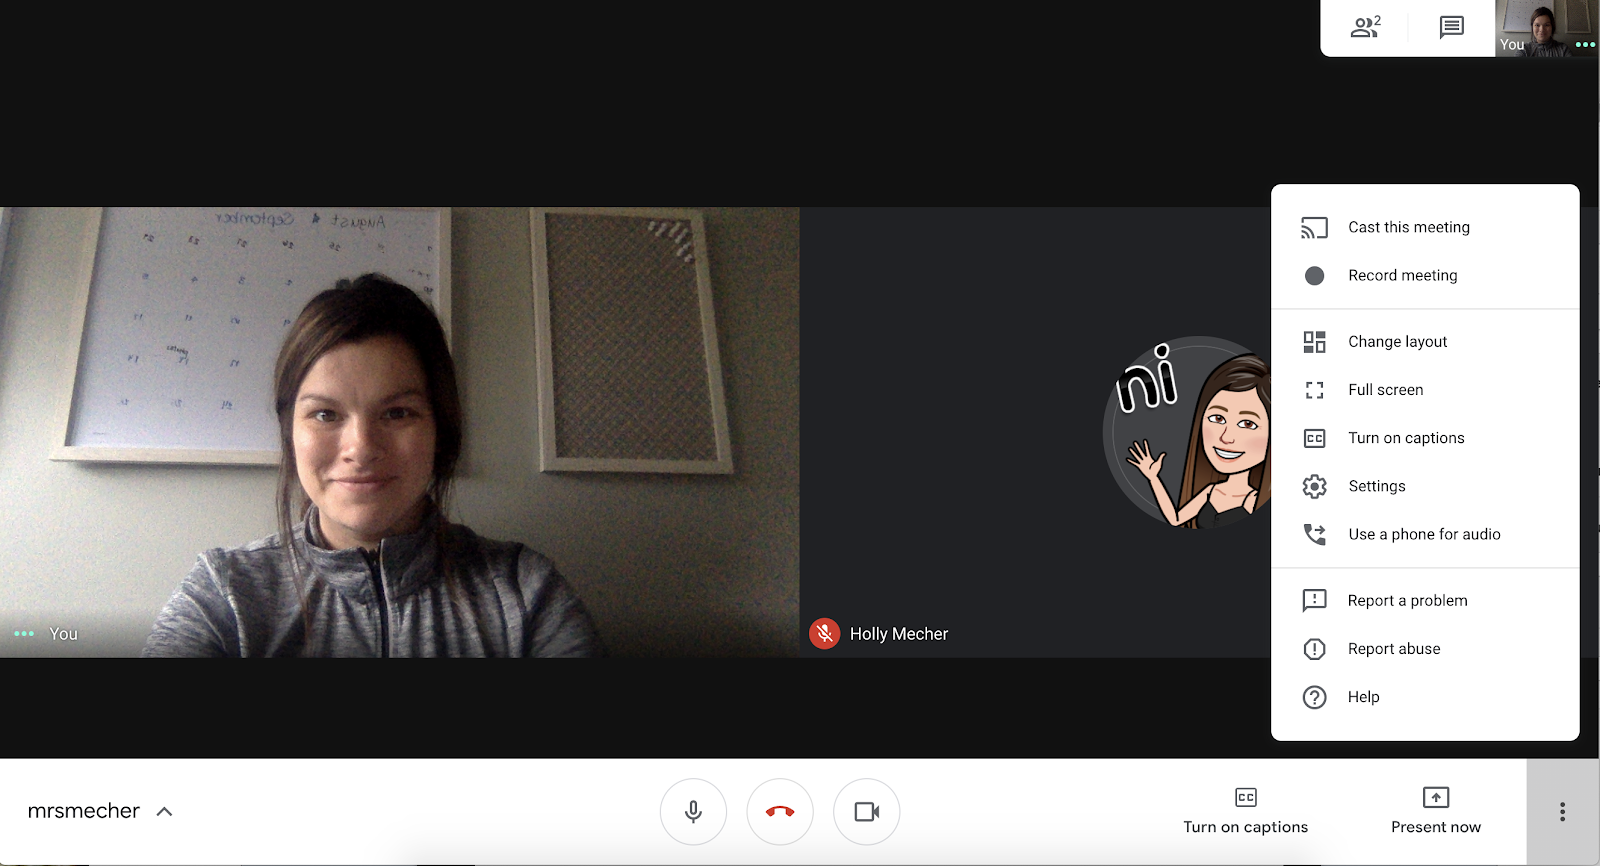
To turn on the tiled layout on your computer, select the three dots in the bottom right corner of your Google Meet window.
When you want to present to the class, you will use your iPad to present your screen. This allows students to see examples on the same device they have at home, and allows you to use the tiled layout on your computer.
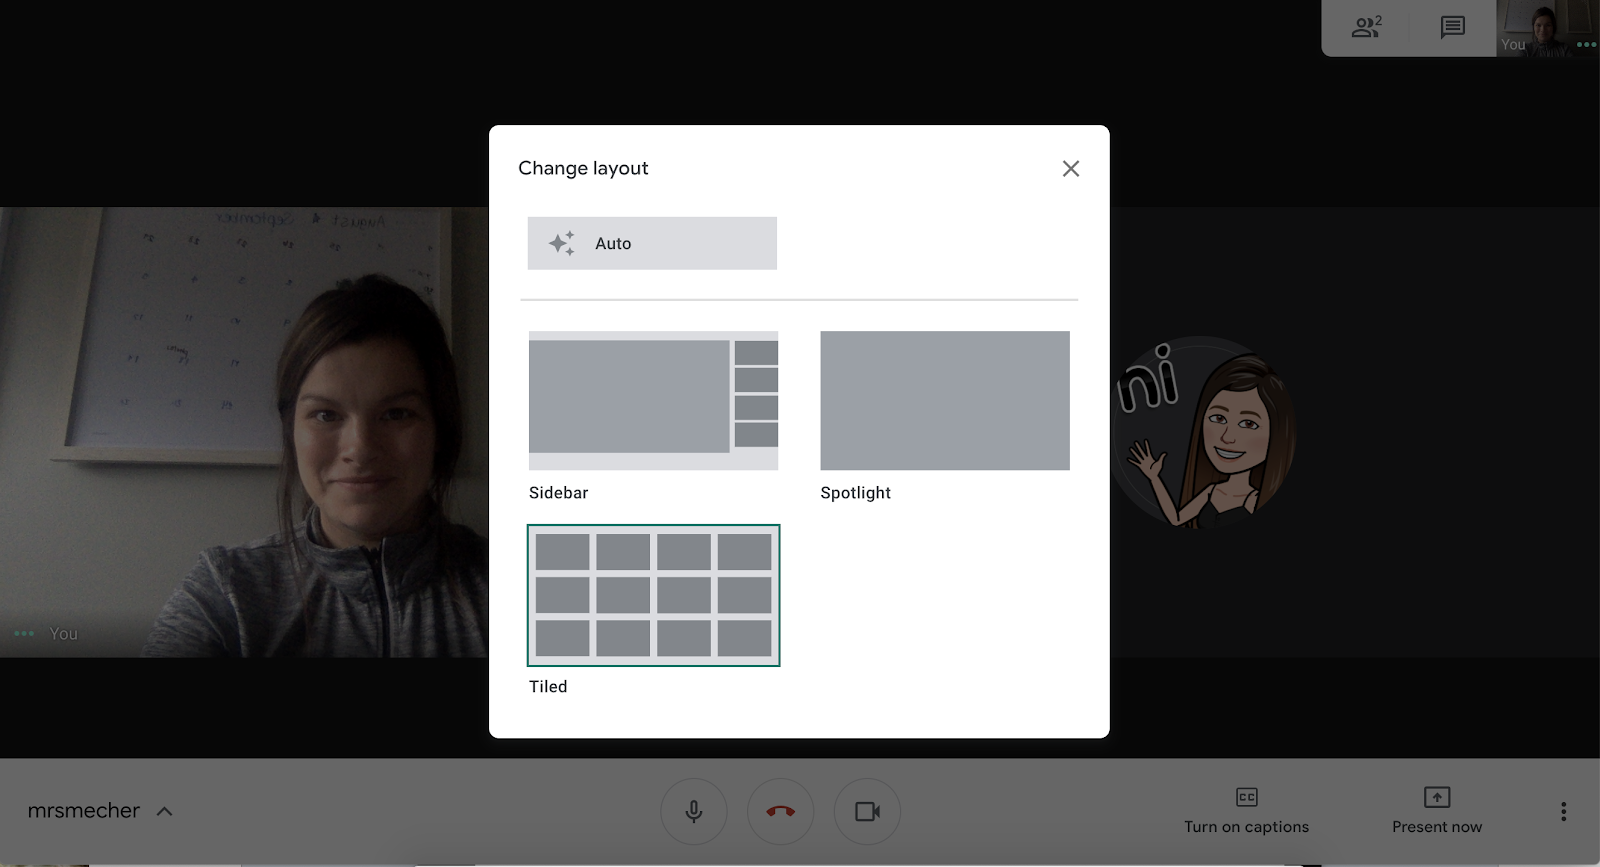
Then select “Change Layout”. Choose “tiled”.
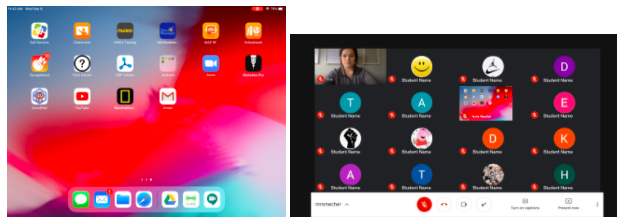
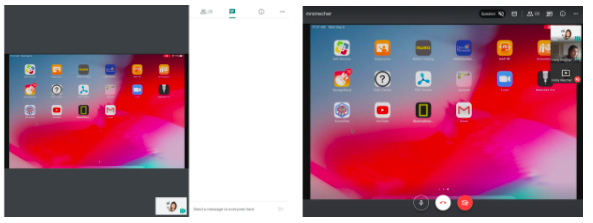
To the left is what you will see on your iPad. You can tell that this iPad is presenting its screen because the recording icon in the top right corner is red. To the right is what you will see on your computer after turning on “tiled” layout. You can also monitor the chat here.
Below are two options for what your students will see on their iPad. To the left is if they have the chat open. To the right is if their chat is closed.
If you are recording this meet, know that it will record the video from your laptop. That way, students that are watching your recorded meet after the fact will still see your face, as well as the screen you are presenting.
Method 2: Multiple Windows
You can also get this same result by utilizing multiple windows.
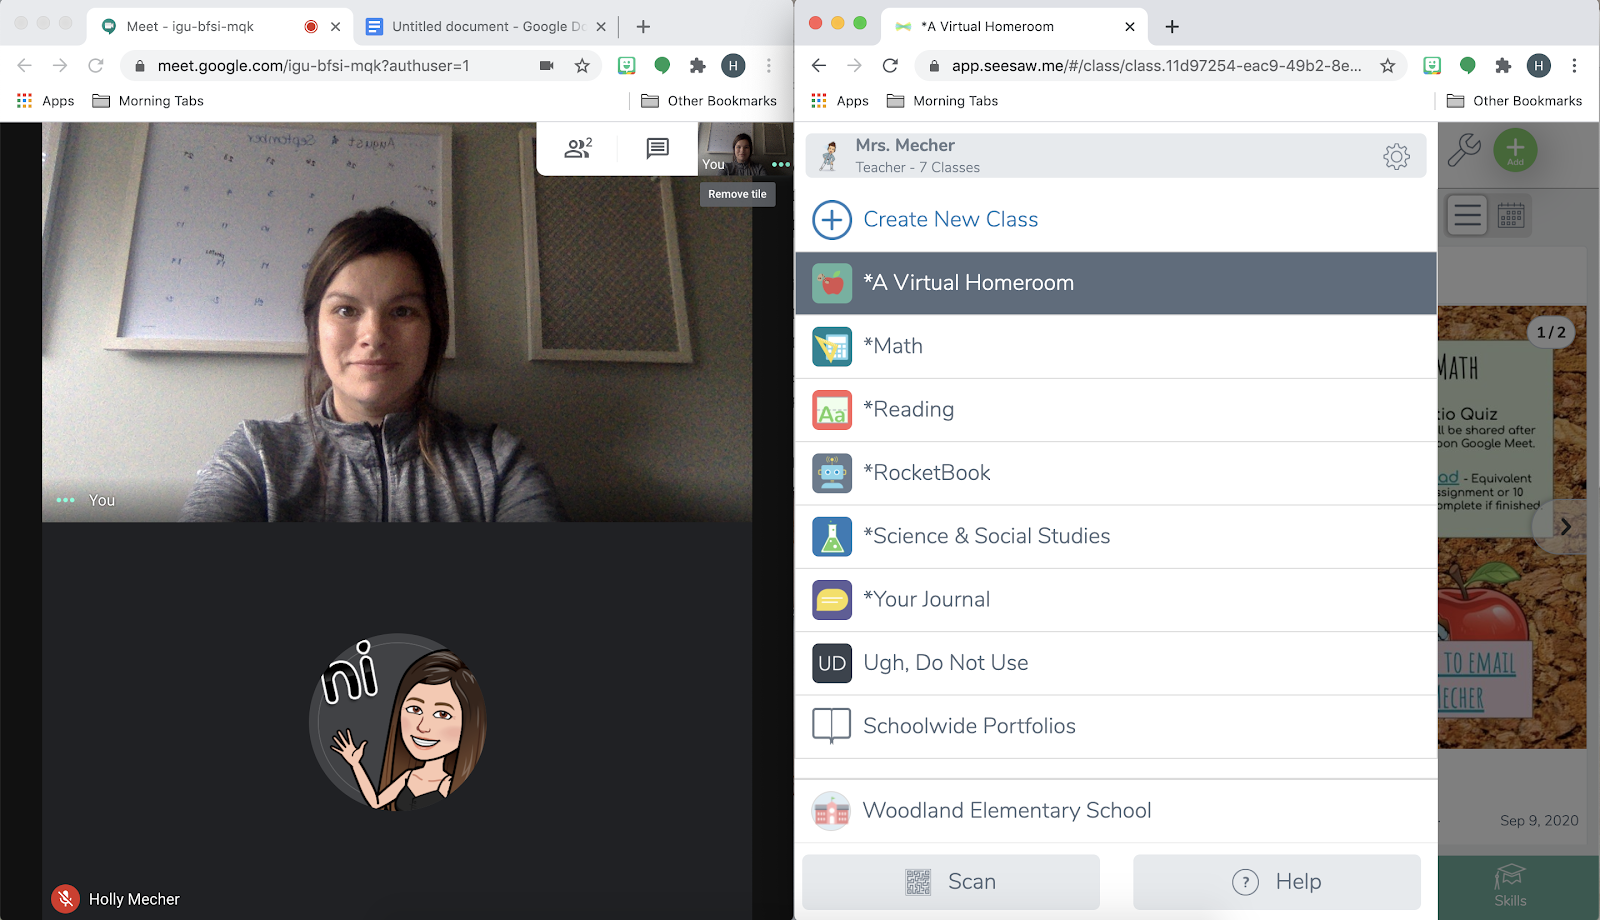
First, open two chrome windows by going to file, then “new window”. You should now have two windows available. Split them to each utilize half your screen. Open Google Meet on one window and open what you want to present in the other window. It should look similar to this below. In this example, I have Google Meet open on the left, and the screen I want to present on the right.
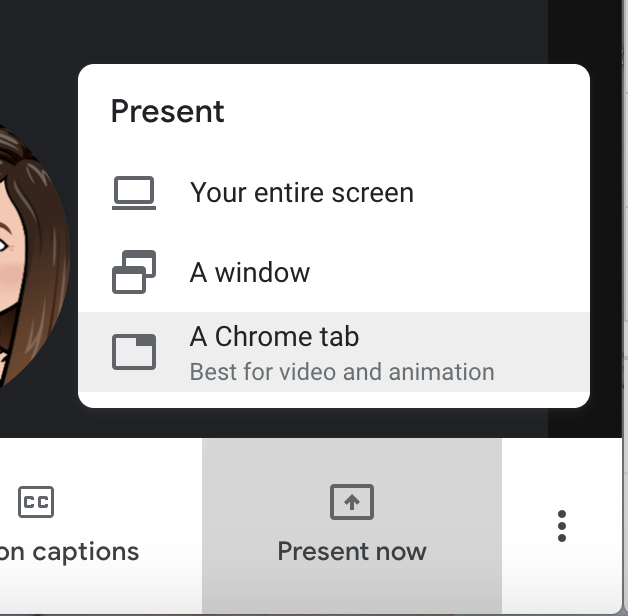
Next, I am going to present my screen by sharing a Chrome tab. To do this, select “present now” on your Google Meet window in the bottom right corner, and choose “A Chrome tab”.
Next, a window will appear that allows you to choose which tab you want to present. Be aware that every Chrome tab you have open will be a choice.
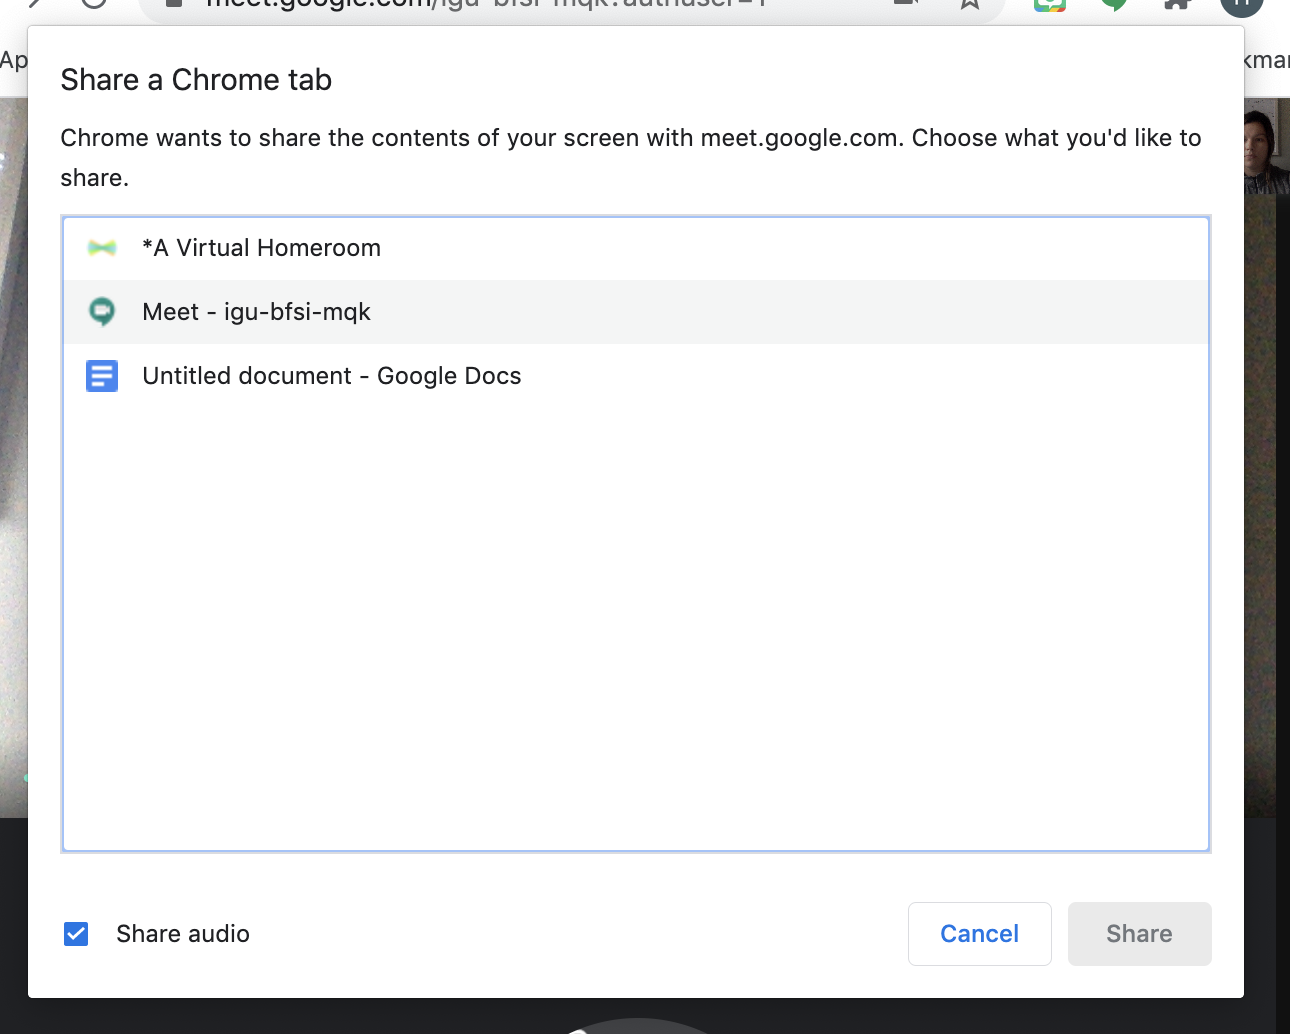
Select which screen you wish to share with students, and select “Share”.
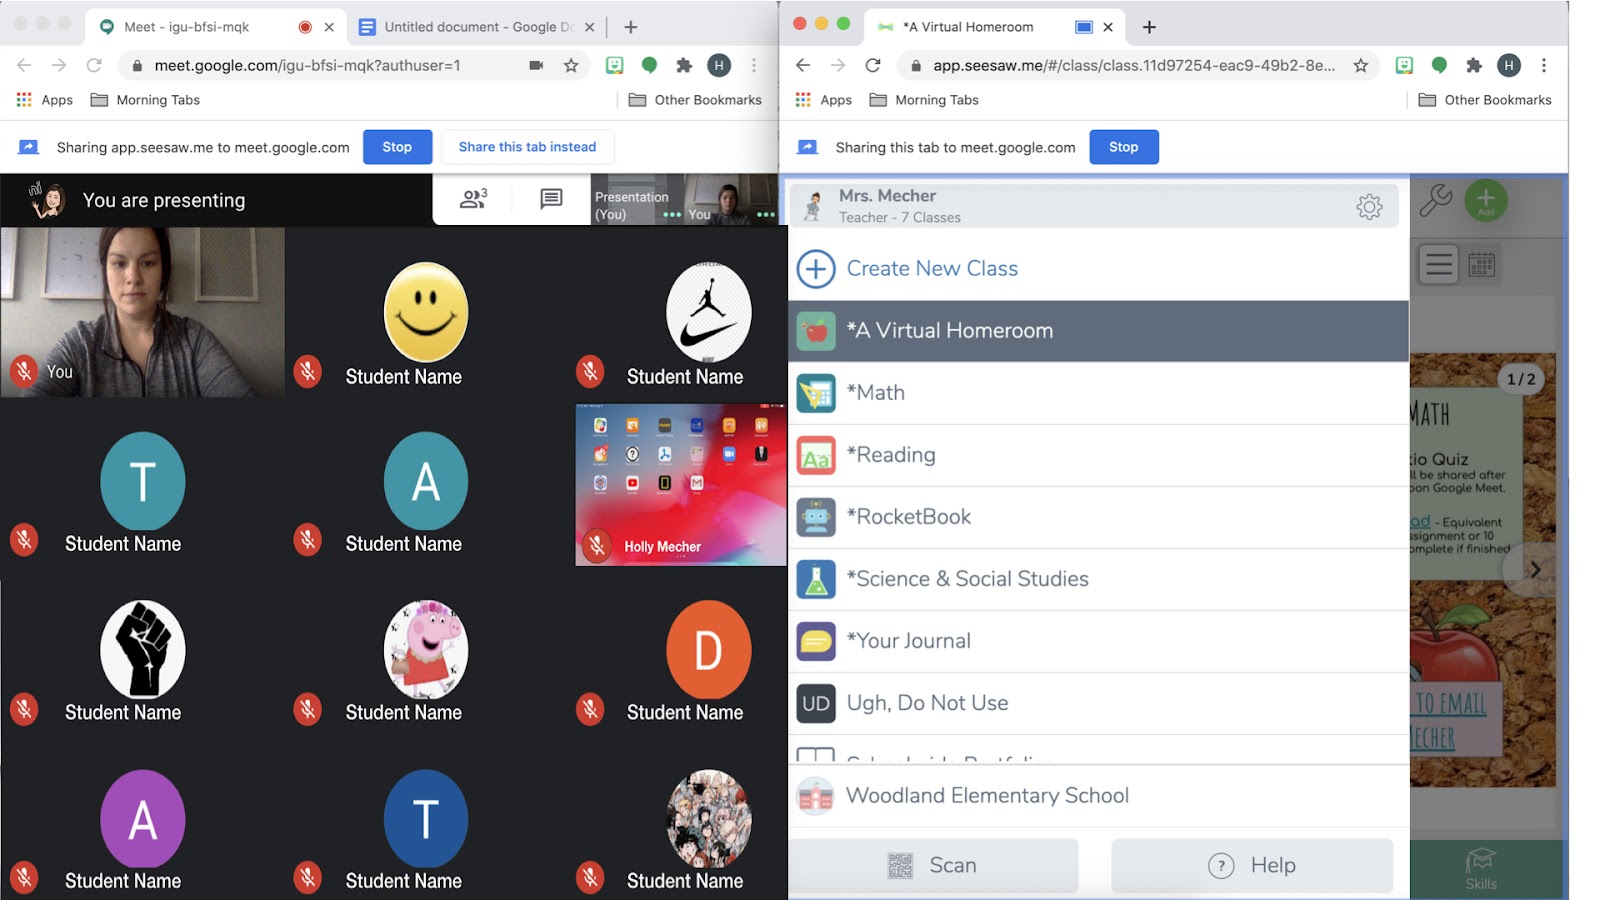
Below, as a teacher I can see all my students in the open browser window on the left and the browser window I am presenting from (the only screen students will see) on the right.
Below is what students will see on their iPad.